This post may contain affiliate links which means I may receive a commission for purchases made through links.
As long as your car is on the road, it’s bound to obtain minor car paint problems like small scratches and a few paint chips. Not to forget that adverse weather can cause havoc on the car hood, while debris from the road tends to kick up the car while driving to chip the auto paint.
Luckily, these chips and scratches don’t require a complete overhaul since they’re usually too small to demand a fresh paint job or professional assistance. Instead, you can easily repair the damage yourself by using touch-up paint to fix the affected area.
Although touch-up paint will never look perfect, you can get pretty close if you are careful with your application. Moreover, you have to familiarize yourself with the best way to touch-up paint to cover the scratches and other minor defects in your car paint.
In this article, I’ll show you the best way to touch up car paint to return its bodywork to near-perfect condition. First, here’s something you may want to know about touch-up car paint!
What is touch-up car paint?
Touch-up car paint is a unique formula that is specifically designed to match the exact color of your car’s factory paint. This makes it a quick and convenient way to fix chips, scratches, and other minor damages that have left a mark on your car. However, you’ll also need a few other supplies like soft rags and sandpaper to apply the paint.
Typically, touch-up paint is only available in small quantities since it’s intended for repairing small areas, not for painting the entire car. Not to forget that it’s extremely easy to use as it doesn’t need any special chemicals or equipment found in a professional auto body shop.
How to apply touch-up car paint
1. Gather the needed supplies
Although producing a perfect car paint touch-up may seem intimidating, it’s a relatively simple process, especially if you’ve got the right tools & supplies. For that reason, it’s important to gather all the necessary supplies and tools needed for this task before you start the touch-up process. Some of the items you’ll need when applying a car paint touch-up are;
- Regular 220-grit sandpaper & sanding block
- Car soap, water & sponge/ cotton cloth
- Car filler primer
- Medium-sized container/ bucket
- Set of wet sandpaper (400 – 3000 grit)
- Hose with adjustable spray nozzle
- Car clear coat paint
- Color-matched auto paint
- Rubbing compound
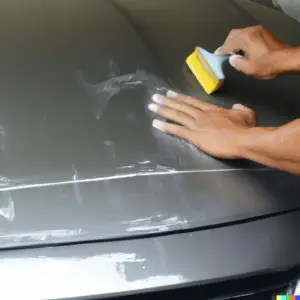
2. Clean the car’s surface
It’s always good to clean the car’s surface before doing any car paint repair to remove all residuals, grime, oil, and dust. So, after gathering all the supplies you need for the job, the next step is to clean the surface of the car with a spray glass cleaner. Next, rinse off all soap residue and thoroughly dry off the car with a clean microfiber cloth.
3. Identify the damaged area on the car surface
If you’re doing car paint touch-up work for the first time, chances are that there are a few scratches, nicks, and chips in your car paint job. So, do a thorough inspection of the entire paintwork and identify the largest flaws.
Next, use a bright light to inspect the car’s surface along the entire bodywork. Mark the damaged spots with a piece of masking tape to make it easier to identify them when you’ve got the touch-up paint in hand.
4. Sand the damaged spots
Prepare the damaged areas for repair by sanding the chipped surface with a small sanding block or 1500- 2000 grit sandpaper. Specifically, submerge one or two sheets of 1500-grit wet sandpaper in a container or bucket of clean water for about an hour.
Then use back-and-forth strokes to sand the car paint surface until it has an even look without a glossy shine. If done properly, the area around the chip should feel smooth when you rub it with your finger.
5. Clean the sanded surface with paint thinner
Dip a cotton swab into a small amount of all-purpose car paint thinner and use it to clean and prepare the sanded area. Applying a paint thinner allows the touch-up paint to adhere better to the car surface and cleans out the paint chip.
6. Touch-up paint application
First and foremost, you have to ensure that the touch-up paint you intend to use perfectly matches the color of your car’s paintwork. Luckily, there are some simple online color match checkers you can use to find the right color for your car depending on its color, manufacturer, and year.
Secondly, you can either use a fine paintbrush/ cocktail stick to build up thin layers of the touch paint or spray the color coat. In this case, we’ll stick to the first option.
So, using a fine-tip paintbrush, apply a base coat that matches the color of your car over the prepared surface. Add a little car paint to the brush tip and lightly dab it over the damaged surface.
Apply a small amount of the touch-up paint at a time, while allowing the first layer to dry first before you decide to add another layer of base paint.
7. Smooth out the surface
For deeper chips, the touch-up paint should be smoothened to be flush with the rest of the vehicle’s surface. This should be done in stages by applying the paint and allowing it to dry before you add another layer.
8. Clear Coat application
After the base coat has dried fully, seal and finish it with a clear coat. To apply the clear coat, use a clean fine-tipped paintbrush to spread it over the base coat with the same dabbing technique as before. Make sure you let the clear coat dry partially before you decide to add another layer of clear coat.
9. Allow the touch-up paint to cure
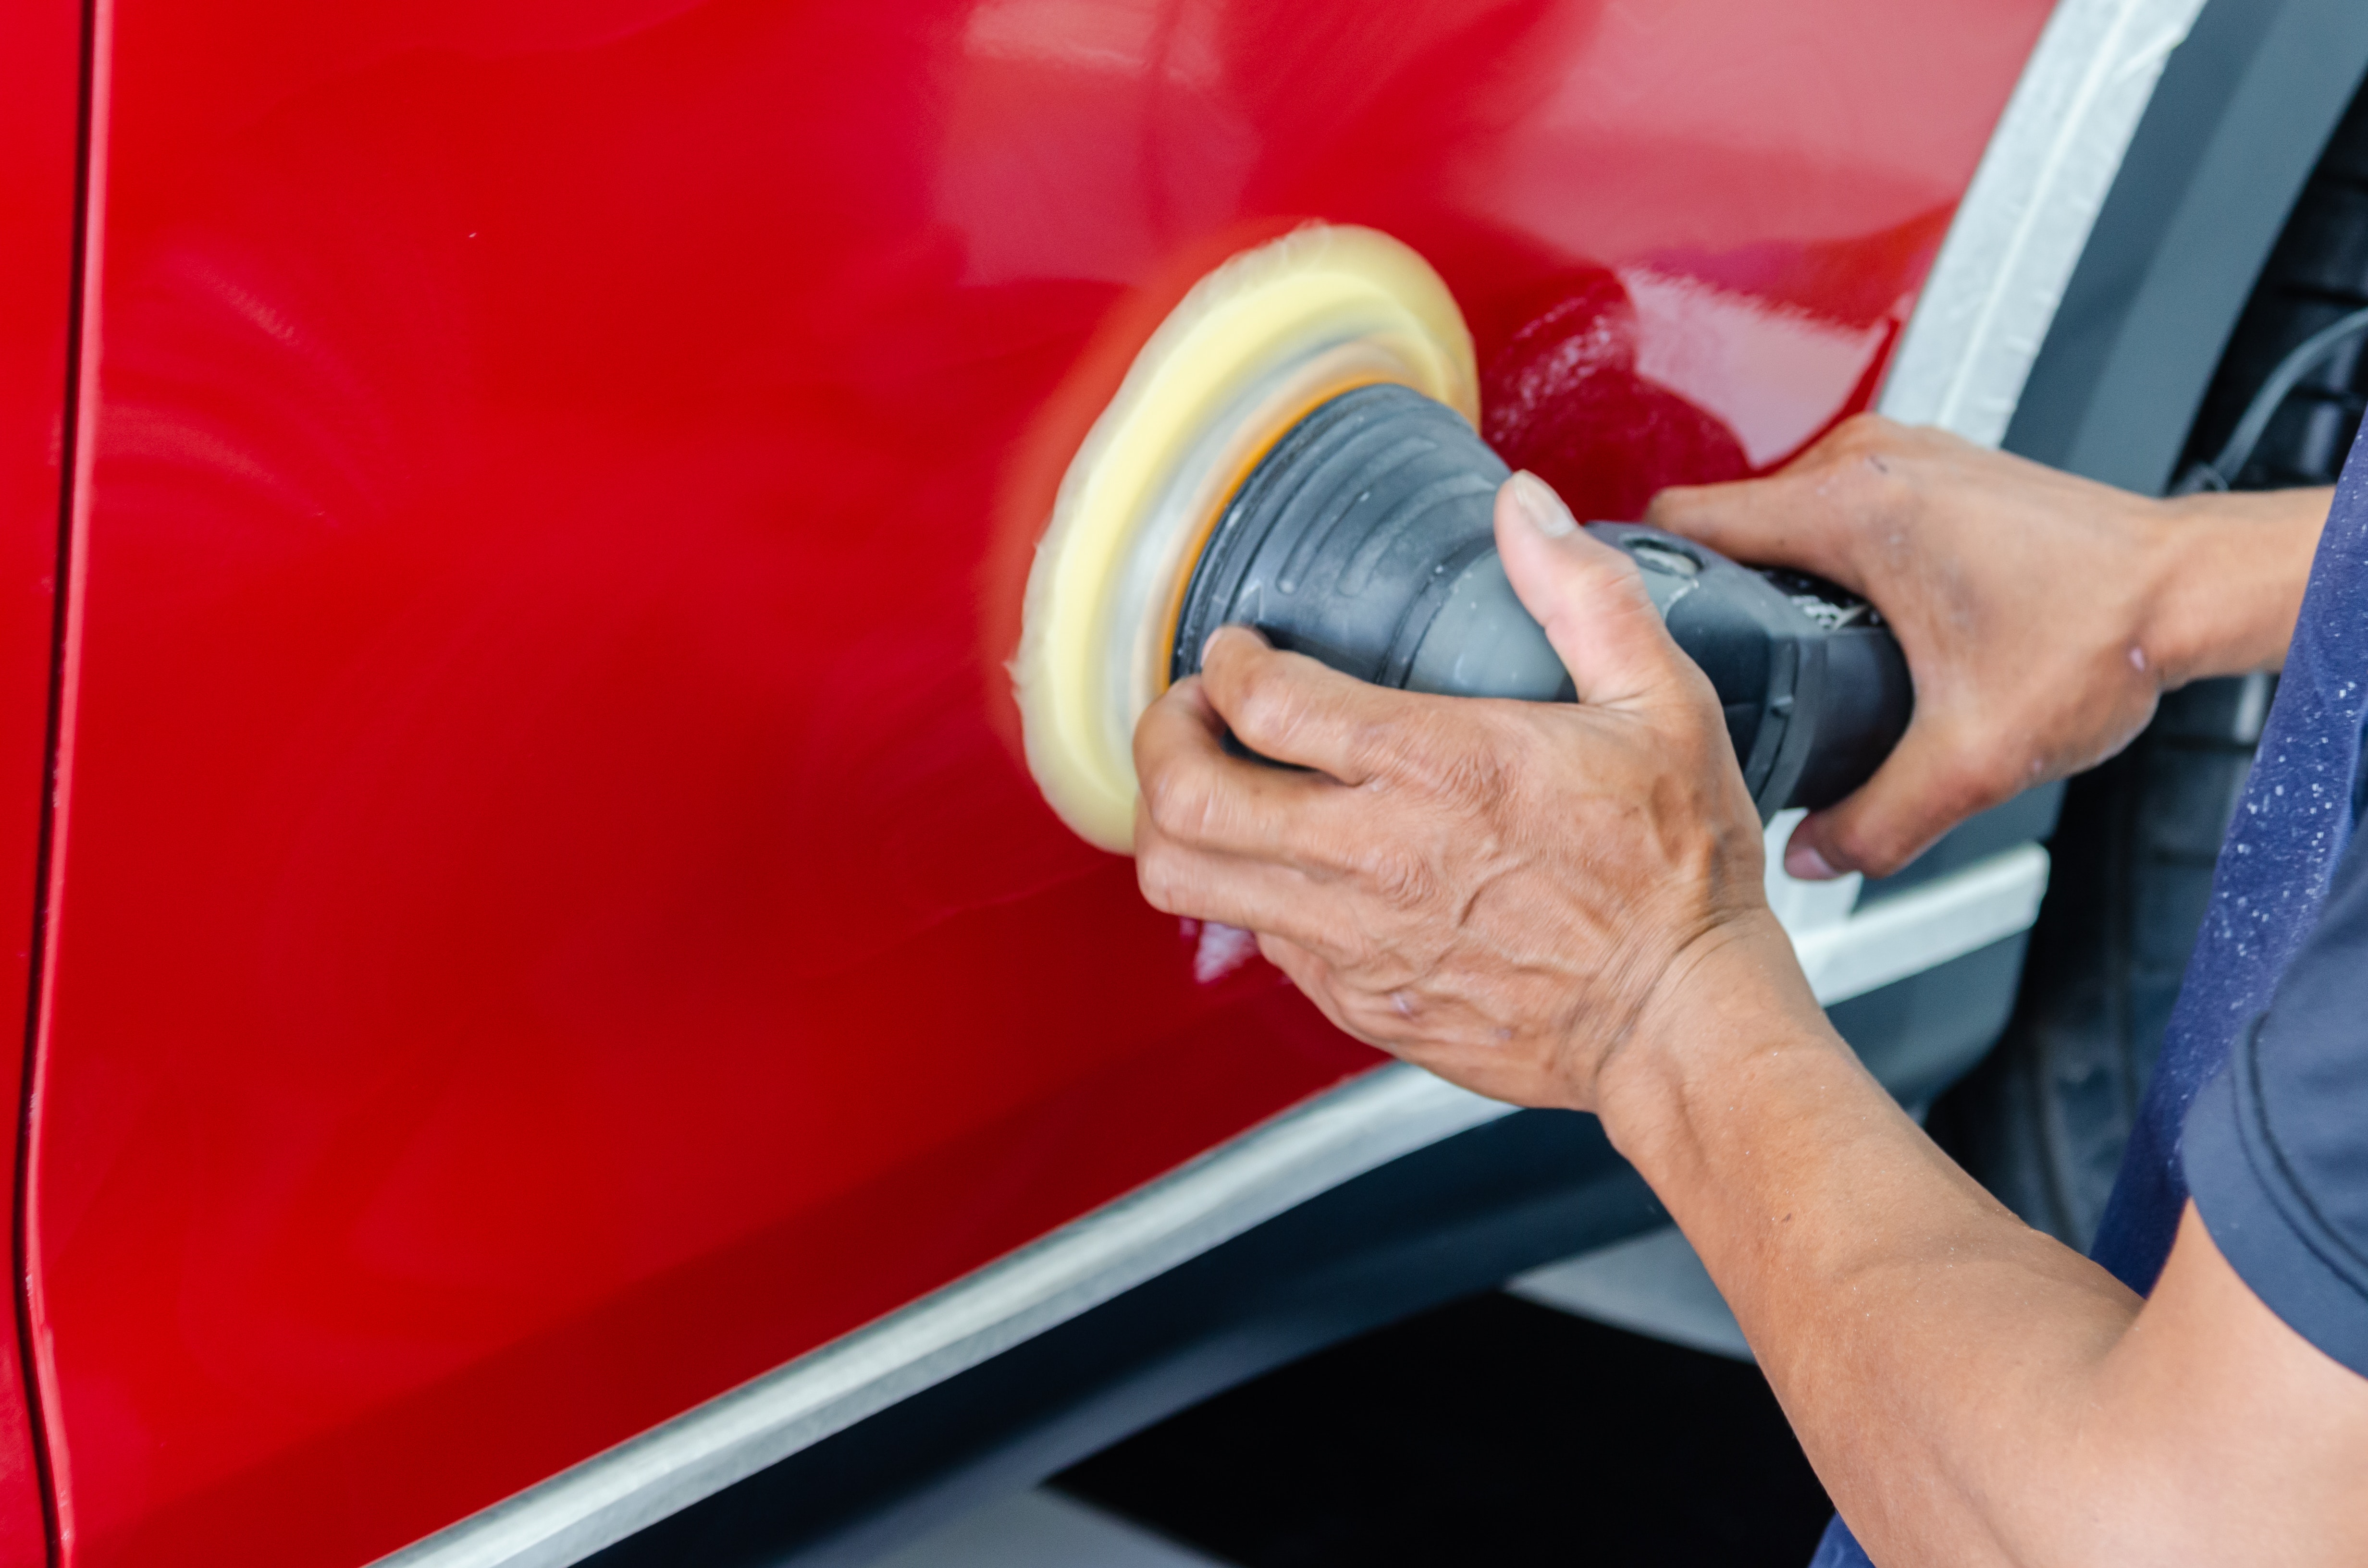
Once you’re satisfied that the scratches on your car paint have been fixed, give the touch-up paint at least 48 hours to dry and harden fully. Afterward, polish the surface with a car polish compound to give the repaired area a fresh paint glossy shine.
In addition, you can apply a few coats of car wax across the entire vehicle for a consistent shine.
Conclusion
Hopefully, after going through this post, you now know the best way to apply touch-up paint to your car. However, this type of DIY car paint repair isn’t intended for extensive paint damage. Instead, it’s recommended for temporary coverage for small parts of chipped paint.
More importantly, make sure you’re patient when sanding the surface until the new paint coat matches the auto body as closely as possible.
Read next: Car paint correction.

Leave a Reply